Tuesday, April 18, 2017

Cowichan Pattern

One of my goals for 2017 is to knit myself a cowichan, but I wanted to keep it personalized to me. So, after a lot of scanning through Pinterest, and Google search engines, I've come up with the below pattern!
Front/Back pattern

Sleeve pattern

Progress to be posted to my Instagram account, finished product to be posted here eventually (before the end of the year!)

Wednesday, December 14, 2016

Mrs. Weasley's Christmas Sweater Ornaments

I was looking for a good scrap buster the other day, and decided to whip up some Christmas ornaments for my gift labels this year. And then I kept going, and made a bunch for a group of friends...

Pattern
Note: Sweater is worked in one piece, and then stitched up the sides

cast on 10 (leave a long tail to start)
row 1: k1, p1 to end
row 2: p1, k1 to end
row 3-10: work in letter pattern alternating k and p rows
row 11: cast on 8, k to end
row 12: cast on 8, p to end
row 13: knit
row 14: purl
row 15: knit 10, bind off 6, knit 10
row 16: purl 10, cast on 6, purl 10
row 17: knit
row 18: purl
row 19: bind off 8, knit to end
row 20: bind off 8, purl to end
row 21-28: alternate knit and purl rows
row 29: k1 p1 to end
row 30: p1 k1 to end
bind off leaving a long tail

And there you go!
 I had some spare wire that I bent around to make the hangers. When I have some free time I'll do up the patterns for the letters, but if you need it before then I made them all 6 stitches wide, and 8 stitches tall.
I made the pattern using 2mm needles, the finished product is roughly 2.5in wide at the bottom at 3in tall.

I'm putting up this pattern for free, so please don't use it to make and charge people for your product. If copying, give credit where credit is due.


Wednesday, November 9, 2016

Baby Shower Gifts

Pretty sad that I can't post this project on social media yet, but thankfully I can post it here!
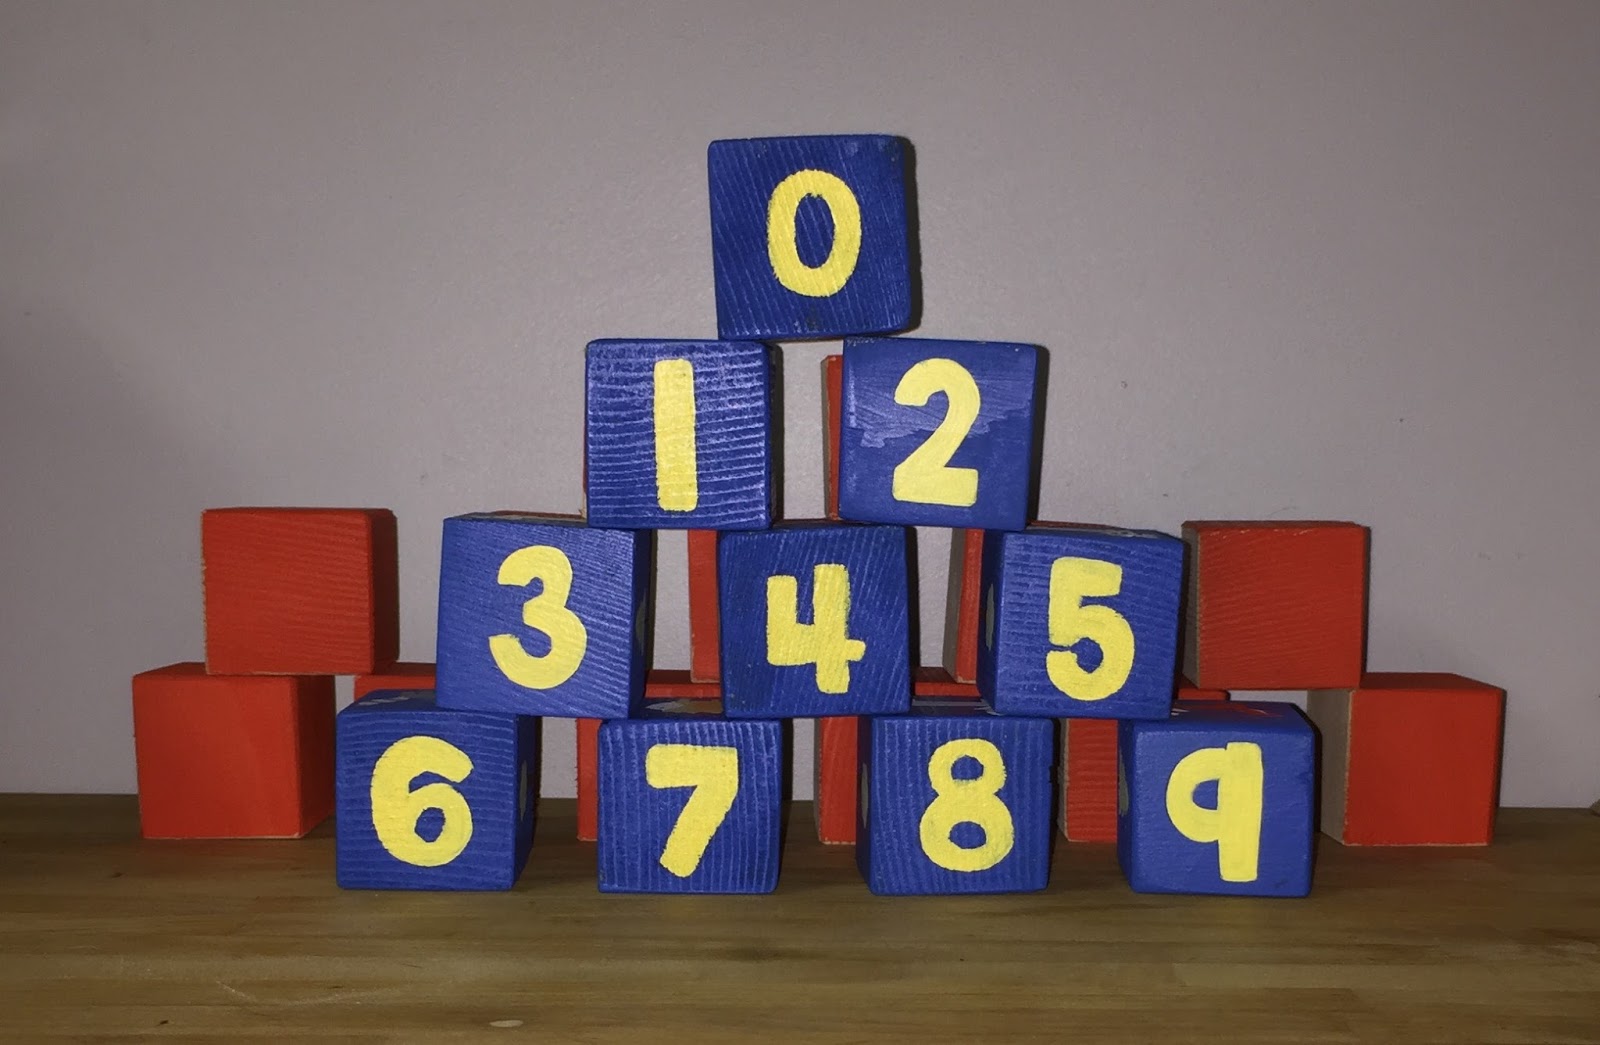
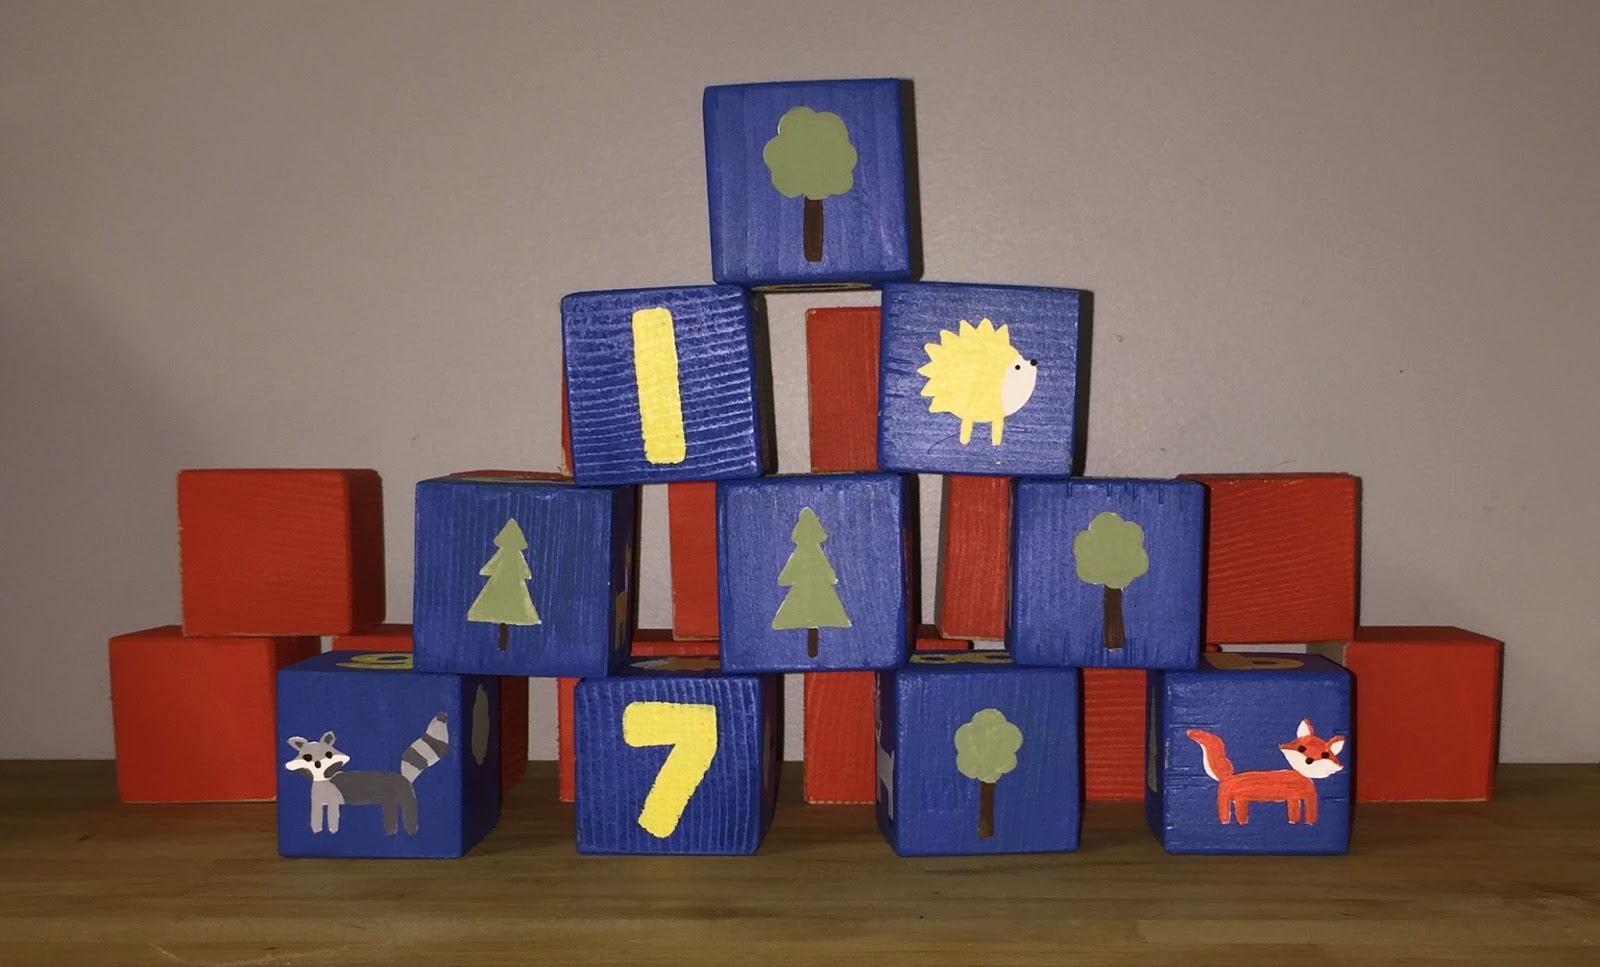
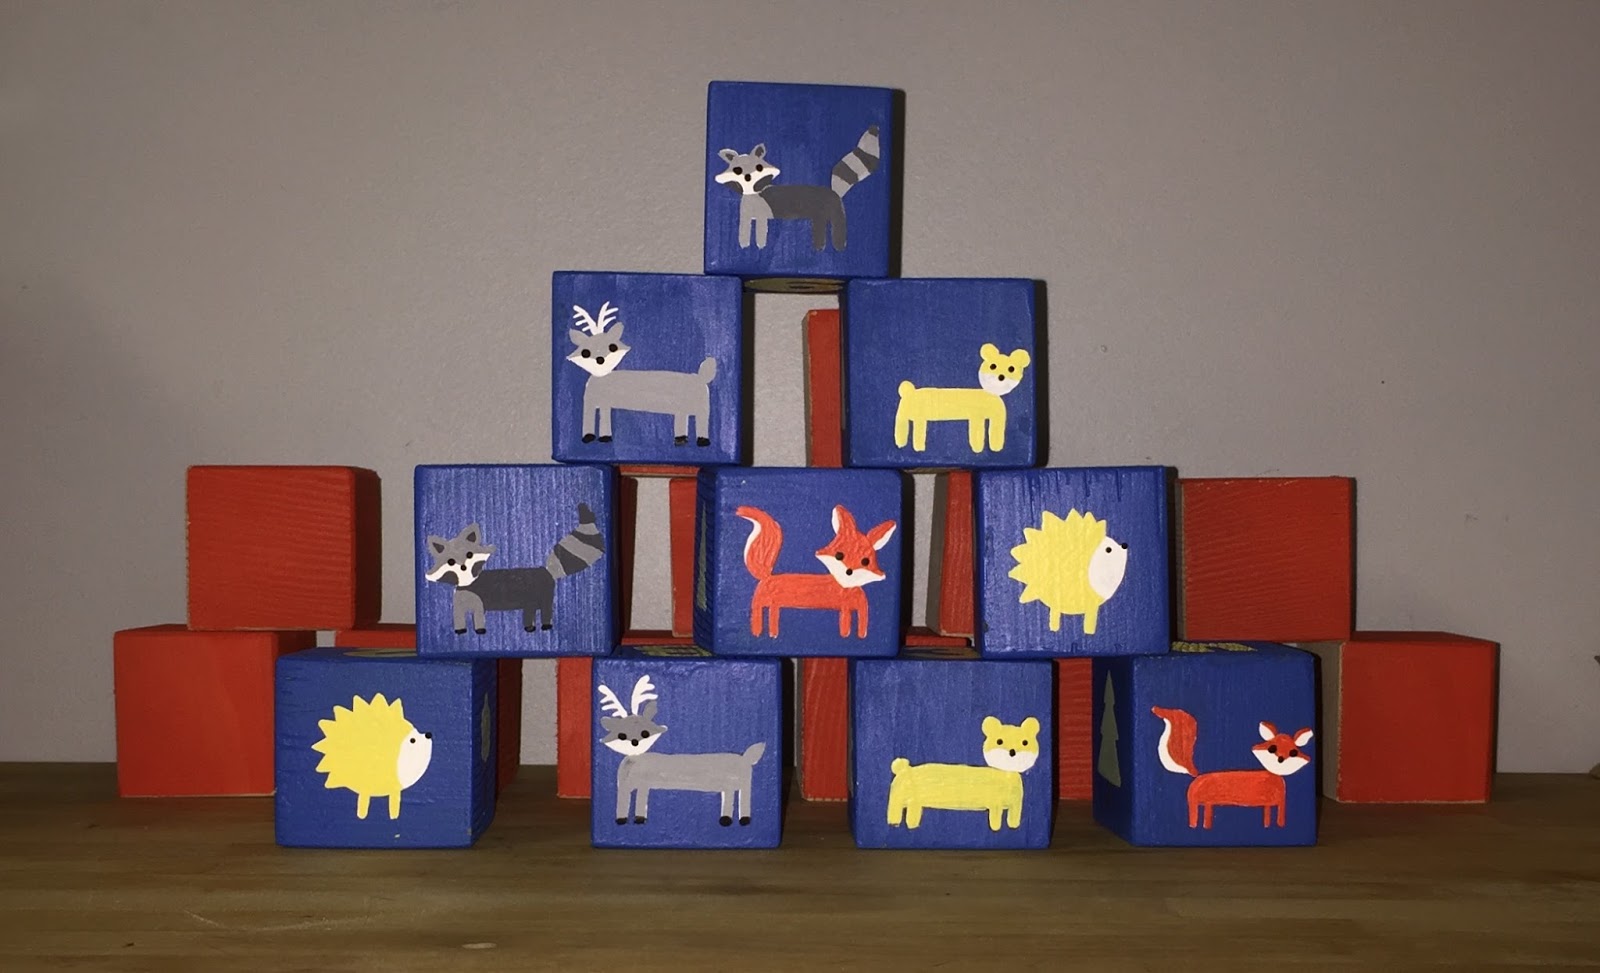
Not knowing what to get a friend for her upcoming baby shower, I whipped up these cute little blocks


I'm so pleased with how they turned out, that I'm going to make another set for E for Christmas this year.
Luckily I still have a ton of paint left over from my Harry Potter Mural, that I was able to use for painting the majority of the blocks.
 While my friend is going with a woodland theme for her baby's room, I'm going to stick with a bird theme for E's blocks. Initially I wanted to leave them un-painted so you could see the wood grain, but the only thing we had laying around to make these with was some old fir 2x2's from when we re-did part of the basement, and being that I asked for the blocks to be made at 10 o'clock at night, I got what I got!

Tuesday, October 4, 2016

Mural Update

Starting to look like something other than tape on a wall!


Friday, September 30, 2016

6 month catch up!


Even though I haven't posted much (anything!) in the past 6 months, I've done a pretty good job of keeping busy at my crafts!
 Here's a run down of some of my favorites, as well as something I'm currently working on!
Crochet Mermaid Costume.

 This I completely made up one day sitting on the couch watching tv / my baby nap. I measured general lengths (waist circumference, and waste to toe length) for the tail, and chest circumference for the top, and then just winged it! Of course, we then needed to have an impromptu photo shoot to justify making the outfit in April, rather than a costume for Halloween...

Weasley Christmas Sweater

This one I followed directions for. and I'm happy to say that I finally finished my first knitted sweater!
Link here

Reading Tipi

Here's another one that I winged. I bought 6ft lengths of dowel, measured how long I wanted the edges, and cut the fabric accordingly. To make sure that it didn't fall down when being grabbed / pulled on, I sewed pockets for each of the dowels to keep them secure. *Missing from this photo: lamb skin rug, big comfy pillows

Quiddich Robes

I was very excited to take little E this year to our hometown comic expo. Even more exciting, we lucked out and were able to get photos with Tom Felton (aka. Draco Malfoy), so naturally I had to dress her up! These quiddich robes were made by making a loose pattern for the top based off one of her sweaters, and then just adding on the desired length. Just for fun, I made up my own quiddich team, and painted on a crest. The smudges were from her trying to help me out.

Hogwarts Mural


Finally we're starting to get some color into little E's room! We also finally got her a bed, and some other room type things, but the stark white that we originally painted was starting to weigh on me. So! I convinced my husband that I needed to paint a full wall length mural to help break things up! The wall I'm painting it on is roughly 2.3 feet wide, and 8 feet high.
More to report on this as the weekend goes on, but so far I'm digging it!


Sunday, March 13, 2016

Easter Photo and outfit

So, been a bit bored with my new change of pace.. so Baby E has been starring in my learning newborn photography.
 I also decided to make a super cute rabbit outfit for her first Easter photos.
 To make the ears I crocheted around a bent pipecleaner, and the attached them to a band that went most of the way around her head. I luckily had a pink ribbon laying around to use to secure the band around her head.
 For the diaper cover, I used one of her existing diapers as a template as to how big to make it, and where to put the leg holes. I made it using a double crochet, so was able to use buttons to secure through one of the natural holes that were created. The tail was just a basic pom pom that I secured to the back of the diaper cover.
 I also decided after taking this round of photos to make some prop carrots, so those will be incorporated when we re-do this shoot later this week!

Tuesday, December 15, 2015

Tourtière


Tourtière

The pie crust I used was from the inside of the package of lard (and make sure you use lard, not shortening!). I find the crust always works better for me when I do only a half batch... and quite nicely, the below filling amount filled up a half batch perfectly!

Filling:
  • 1lb ground pork
  • 4 strips of bacon, chopped
  • Salt and Pepper
  • 1/2 tsp cinnamon
  • 1tsp sage
  • dash allspice
  • 1 onion, finely chopped
  • 4 cloves of garlic, finely chopped
  • 1 medium potato, grated
Saute together onions and garlic. I did this in 2tbsp lamb fat... but it would also work to do it with pork fat, or butter, I just happened to have lamb handy.

Once onions are translucent, add in bacon and ground pork. Cook through.

Add in potato and spices.

Let simmer together.

Add to pie crusts. 
Cook at 460F for 15 minutes and then lower the heat to 350F for another 45 minutes.

Cooks notes: This recipe was originally adapted from a friends family recipe. Since I'd never had Tourtière before, and I didn't know how people would receive it I decided to add bacon, and not add in some of the recommended spices. The recipe above shows all ingredients I decided to use. It was a huge hit at potluck last weekend, and the friend who's family recipe I adapted it from also gave it good reviews. I'm going to make that in the success column.

Monday, November 23, 2015

2015 Christmas Cards

Got my Christmas cards done finally!

 Bet you can't even tell that I photoshopped on their hats (haha yes, you can.. but usually my cards are cheesy like that, so I don't even care!)

Thursday, October 15, 2015

Lamp Re-vamp


Finally found some motivation to re-do a set of lamps that we inherited with the house. 
To be honest, I still have to do the lampshade for the second one.. But I think the one I did get done turned out pretty well!
Sorry for the Instagram photo.. I forgot to save the before and after photos on my phone....

Total cost of project:
$10 spray paint
$5 flat sheet (cut up to make lampshade)

I have a ton of paint left over, and a ton of fabric too, so actual cost is probably more around the $3.50 range if you buy the bare minimum to just do the project. 

Tuesday, September 1, 2015

Cowichan inspired Leg Warmers

Looking through Pinterest, I ran across some beautiful looking cowichan leg warmers.
Not able to find a pattern, I decided to make my own.
Pattern width to be done in multiples of 20.
Desired length to be 14", 
Desired width based off of circumference of leg (plus an extra 2" to make sure it'll fit over snug fitting pants... remember to make in multiple of 20 stitches!)

Depending on how many inches it takes to make this pattern, I may add another iteration of the wave below the owl, But I don't want the pattern to fall below mid-calf of me.

I'll probably stick to the traditional colors of  grey, cream and black.

Will post finished product once it's finished (hopefully soon!)

Tuesday, August 11, 2015

1 Serving cupcakes

Ok, so maybe it made 3 servings, not just one...

I found the cupcake recipe on www.howsweeteats.com last night while going through a major cupcake craving. And not just the cake. I wanted the frosting and the decorations also.
Recipe:
1 egg white (I used a whole egg.. which gave the cupcakes a bit of an eggy taste)
2 tbsp sugar
2 tbsp melted butter
1 tsp vanilla
1/4 cup flour
1/4 heaping tsp baking powder
pinch salt
1-1/2 tbsp milk

Preheat oven to 350

In a bowl, combine egg and sugar and whisk together. Add in vanilla and melted butter (make sure it's not too hot... or it starts to cook your eggs and looks gross). Add all dry ingredients and stir until just blended. Add in milk.
Divide the cupcakes between your liners (the recipe says it'll make 2 cupcakes, I ended up with 3)

Bake for 12-15 minutes (or until done). Let cool, then frost.

Frosting (This was all eyeballed, as I don't love super sweet frosting)

5tbsp room temperature butter
1 tsp vanilla
icing sugar to taste
food coloring (optional)

Beat together all the ingredients until smooth and creamy.

To frost, I placed the frosting into a ziplock bag and cut one of the corners off.
Decorate with sprinkles and fruit

Monday, April 20, 2015

All the dogs...!

...ok, well, just my two.

I've been playing around some more with the whole graphic arts thing and decided to put together the following images.
 While they were done with the same technique, due to the lighting / quality of photo that was taken (one with a Samsung Galaxy 4, the other with my DSLR). I love them both.
   I feel like they capture the two very different personalities of both dogs.


Wednesday, February 25, 2015

They're inseparable

I was reading an article in one of those complementary plane magazines that they provide in the seat pocket, and stumbled across an article about a man who had gone down to Rio to scout things out for his brother who would be competing in the 2016 Rio Olympics.

They're talking about the mountains, but it's also great symbolism that sums up the whole article quite well.


Interested in reading the article?

 You can find it here

Kinda makes me want to go to Rio...

Wednesday, January 21, 2015

The Hobbit

I have finally finished watching the end of the Hobbit movies.
 In my opinion, 3 was way too many and in the end I only watched to see how they were ended. I must say that I was super impressed with the ending, and would have been even more impressed if that's how the first movie ended.
 Anyway, I was deeply struck by Thorin's last words to Bilbo and they lead to a great deal of thought on my part. This is an image I took while on a bike ride last summer just across the river from my home.


Wednesday, December 17, 2014

Christmas Ornaments

Every year for Christmas I try my best to make a lot of my gifts (because I think I'm crafty, not necessarily because I'm cheap), but this year I was at a bit of a loss. So, I went onto my trusty Pinterest account to see what I though would be a neat project to make and I found this gem of an Etsy store. Feeling crafty, I decided that I would try and replicate the idea for my family.
Here's the mid-way stage:
Materials:

  • Modelling Clay
  • Wire
  • Sealant
  • Paint
  • Varnish
  • Ribbon
  • Paper to sketch on
Total Cost: $4.25/ornament (Assuming no materials on hand. I had some stuff laying around, and was able to purchase everything else that I needed at Dollarama, my actual cost was $1.15/ornament)
Time Commitment: 3-4 hours, depending on how fancy you get with the painting and details.

Now that it's dried, tonight's goal is to paint it. Hopefully it turns out well... because I have 4 others to make after if it does!